|
|||
 |
|||
|
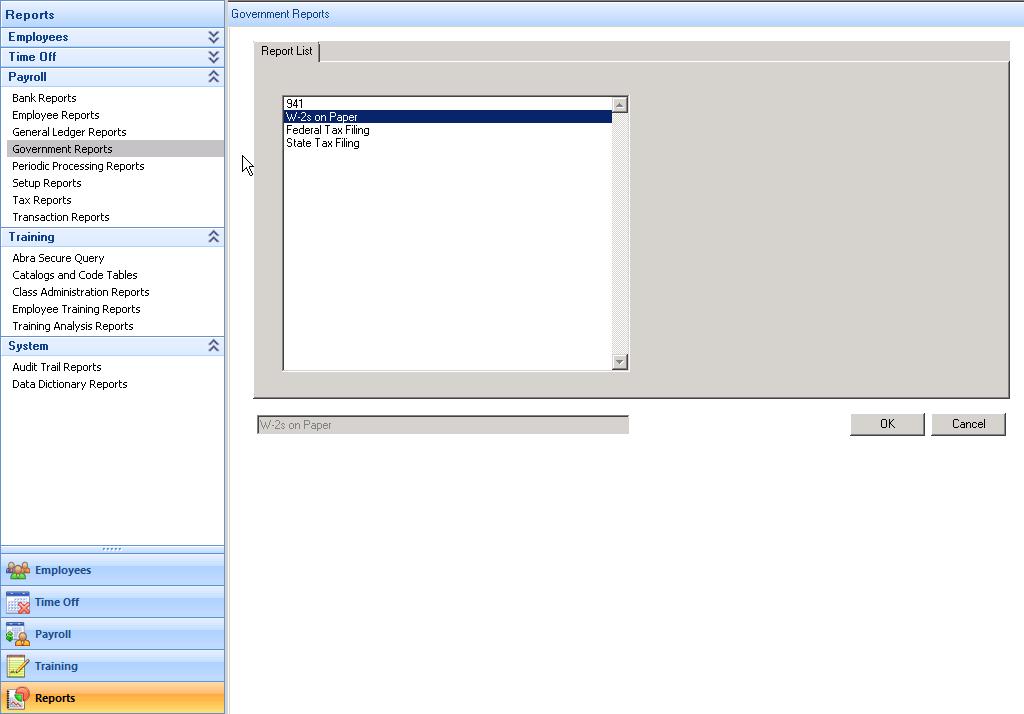
Sage HRMS How to Edit W-2 through Aatrix From the Navigation Pane select Reports, Government Reports, and W-2s on Paper
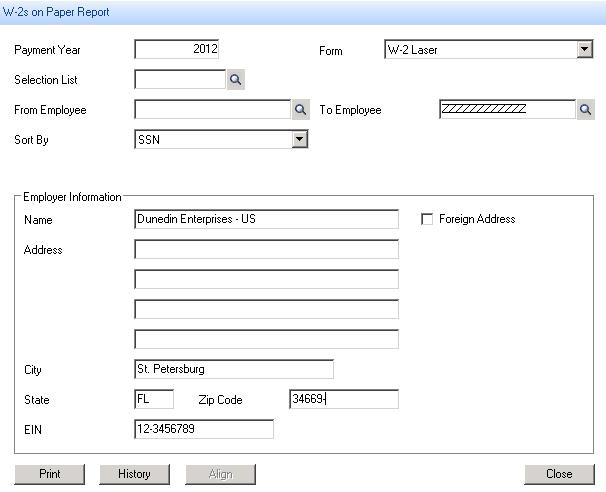
Enter the requested information and select Print
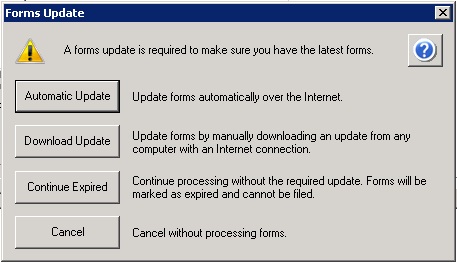
If prompted, update your forms
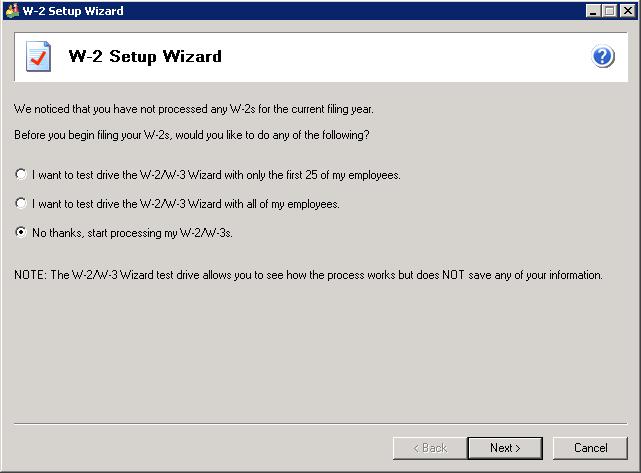
Choose if you would like to test drive or start processing your W-2s
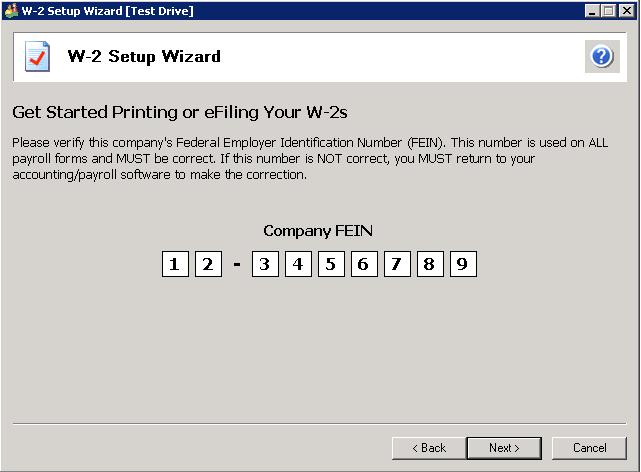
Verify your company's FEIN is correct
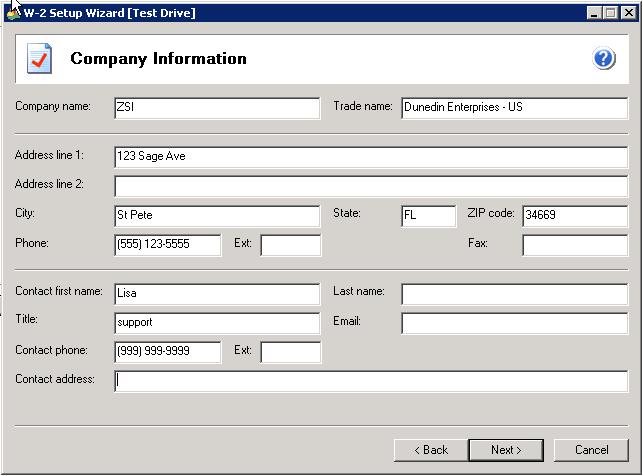
Verify your Company Information and select Next
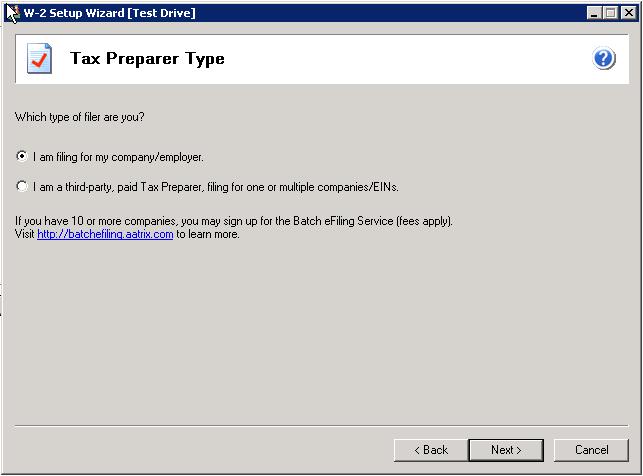
Select Tax Preparer Type and then click Next
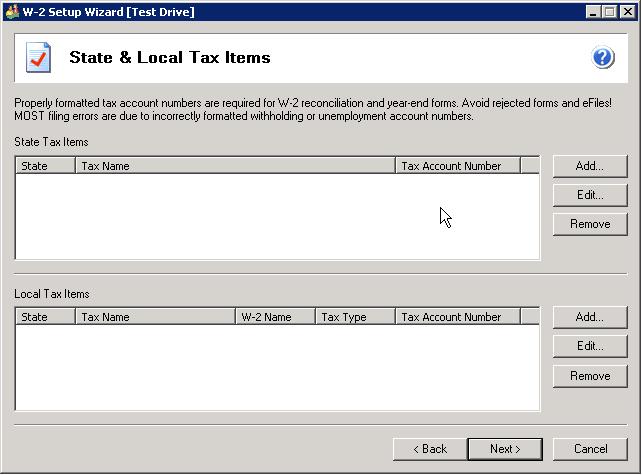
Correct any items that are listed as improperly formatted and then select Next
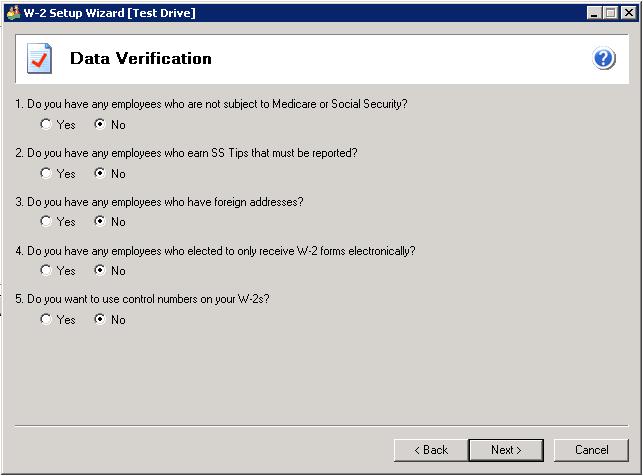
Select the appropriate radio buttons for Data Verification and then click Next
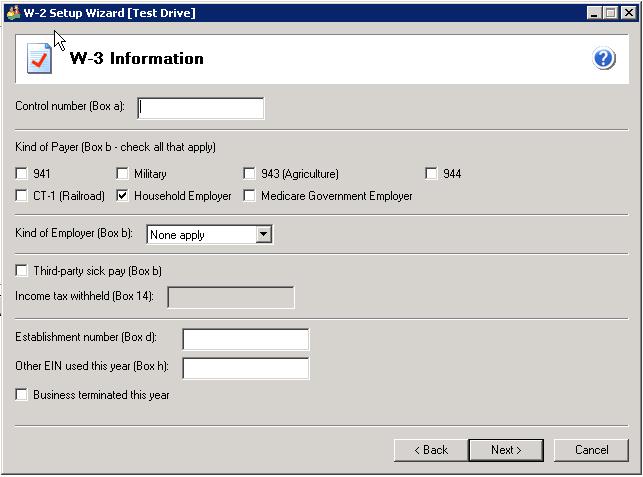
Make correct selections for your company's W-3 information and then select Next
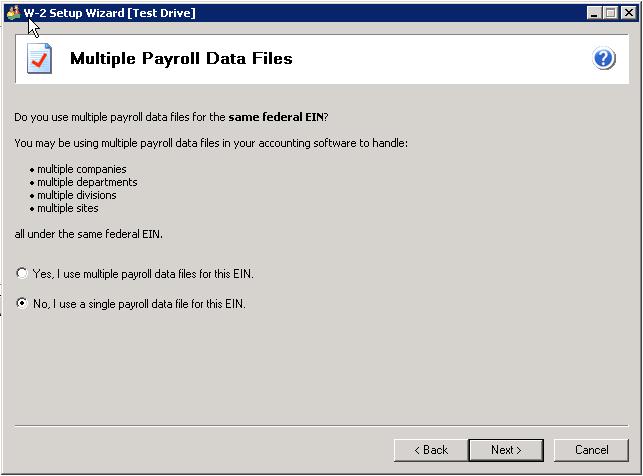
Select whether you are using multiple payroll data files for the same Federal EIN and then click Next
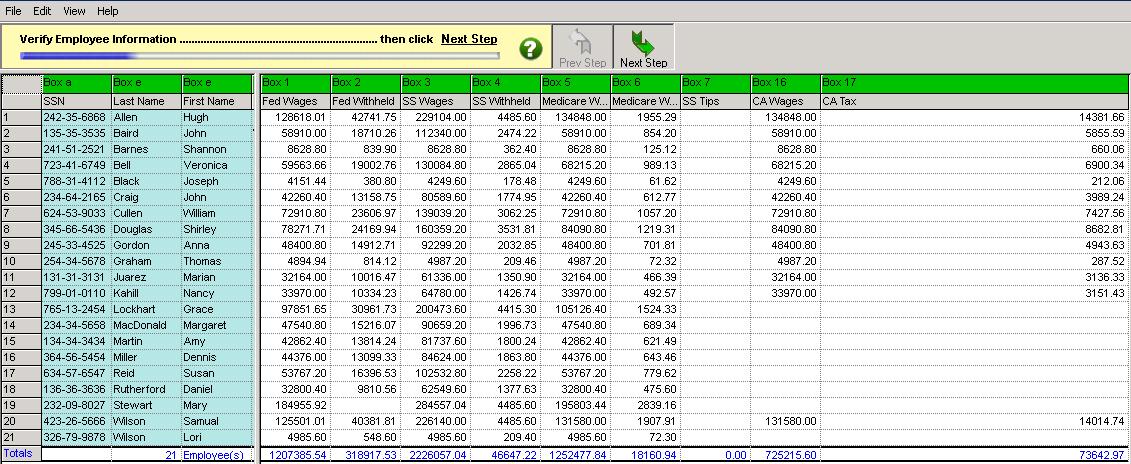
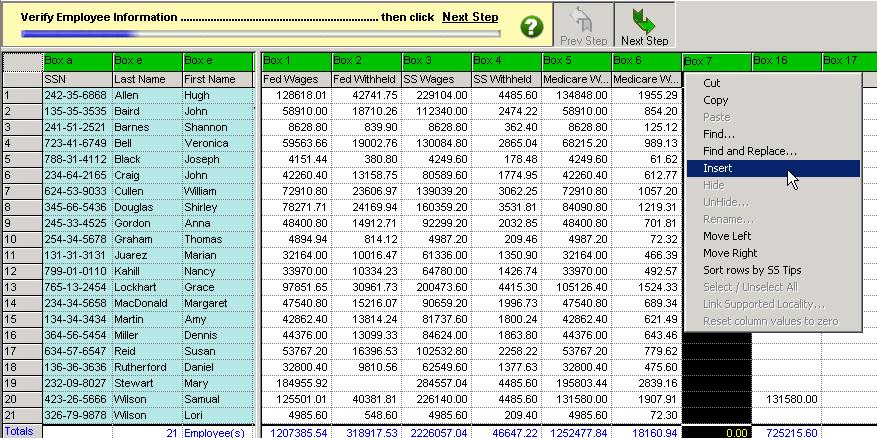
View and Verify your W-2 information
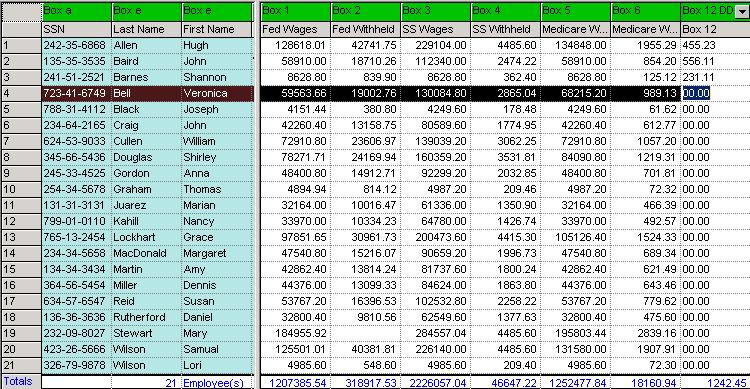
To add amounts for Box 12 Code DD you must first add the column. To do so right click a column and then select Insert
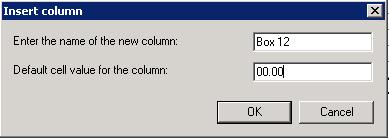
Type in a column name and default value of 0.00 and then select OK
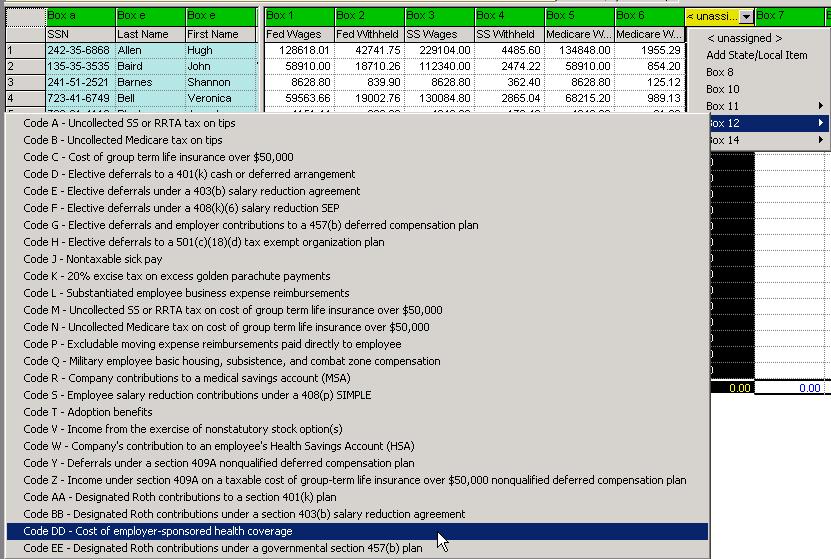
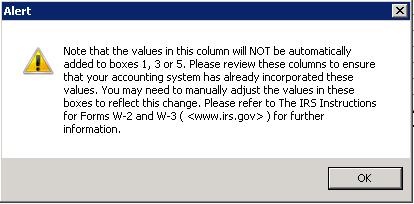
Click the drop down above the newly created column and select Box 12, then select Code DD to tell Aatrix where to enter these amounts on the W-2 and then read and OK the alert
Enter the amounts you have calculated or that your insurance benefit company has supplied. You can down arrow from employee to employee.
When you have entered all of the amounts and verified they are correct select Next Step
Aatrix will walk you through the remaining steps to submit your W-2s. |
||
|
|||